Setting up Apple HomeKit might seem hard, but it’s easier than you think. I’ll show you how to make your home smart and tailored to your needs. Follow my step-by-step guide to start your Apple HomeKit journey.
I’ll take you through setting up Apple HomeKit, from start to finish. You’ll learn how to make your home smart and efficient. By the end, you’ll enjoy the perks of a smart home, thanks to Apple HomeKit.
What is Apple HomeKit and Why Use It?
Exploring smart home tech, I’m excited to share about Apple HomeKit. It’s a great way to make your home smart. Apple HomeKit lets you control and automate home devices with your iPhone, iPad, or Apple Watch.
Apple HomeKit works with many devices from different makers. This means you can manage lights, thermostats, security cameras, and more in one app. Setting it up is easy, and you can start automating your home right away.
Understanding Home Automation
Home automation makes life easier and more convenient. With Apple HomeKit, you can set up scenes and automations. For instance, a “goodnight” scene can lock doors, turn off lights, and adjust the thermostat with one tap.
Benefits of HomeKit Integration
HomeKit integration offers convenience, energy savings, and better security. It lets you control your home remotely, keeping it secure and comfortable even when you’re away. Setting up Apple HomeKit is simple and can be done in a few steps.
Compatible Devices
Many devices work with Apple HomeKit, like thermostats, security cameras, door locks, and lights. Brands like Philips, August, and Honeywell offer compatible devices. When picking devices, look for the “Works with Apple HomeKit” logo to ensure they work.
| Device Type | Examples of Compatible Devices |
|---|---|
| Thermostats | Ecobee, Honeywell, Nest |
| Security Cameras | August, Ring, Canary |
| Door Locks | August, Schlage, Kwikset |
| Lighting Systems | Philips Hue, LIFX, Belkin |
Preparing for Your HomeKit Setup
To set up HomeKit smoothly, prepare your home first. Check your space, make sure Wi-Fi is strong, and get all the needed tools. A good internet connection is key for controlling your devices from anywhere.
Learning to use Apple HomeKit means knowing about compatibility. Check if devices work with HomeKit before buying. Look for the “Works with Apple HomeKit” logo or check the Apple website.
Assessing Your Home Environment
Walk through your home to find spots for devices. Think about how HomeKit can help you. It can control lights, thermostats, and security cameras.
Ensuring Wi-Fi Coverage
A strong Wi-Fi is crucial for HomeKit. Make sure your network is secure and fast. If your home is big, consider a Wi-Fi range extender. This helps all devices stay connected and work together well.
Gathering Necessary Equipment
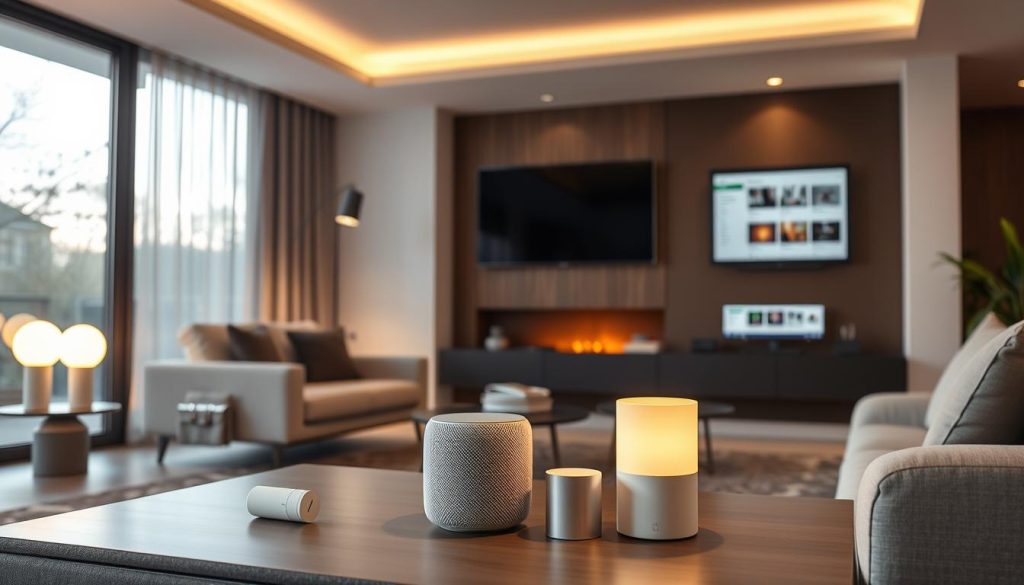
Make a list of devices you want to install. Get power cords, batteries, and mounting hardware. Having a backup plan is smart in case of installation issues. Follow these steps for a successful HomeKit setup and learn to control your home with Apple HomeKit.
Setting Up Your HomeKit Hub
To start with Home automation using Apple HomeKit, you need to set up your HomeKit hub. This hub will manage all your Apple HomeKit devices. Think about how many devices you’ll connect and how far the hub’s signal should reach.
Popular hubs include the Apple TV, HomePod, and iPad. Each has its own benefits. It’s important to compare them before deciding.
Choosing the Right Hub
When picking a hub for Home automation with Apple HomeKit, consider these points:
- Compatibility: Make sure the hub works with all your Apple HomeKit devices.
- Range: Pick a hub that covers your home well.
- Security: Look for hubs with strong security, like encryption and two-factor authentication.
The Setup Process
After picking your hub, setting it up is easy. Just plug it in, connect it to Wi-Fi, and follow the on-screen steps.
Configuring Your Hub for Remote Access
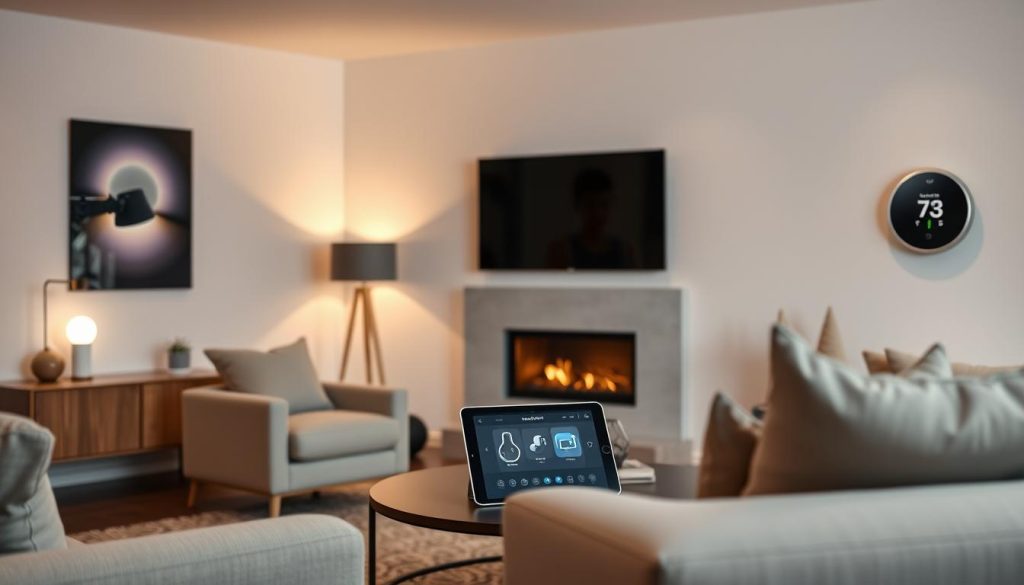
To control your devices from afar, set up remote access on your hub. Use the Home app on your iPhone or iPad. Tap the hub icon, choose “Remote Access,” and follow the instructions.
| Hub Model | Compatibility | Range | Security Features |
|---|---|---|---|
| Apple TV | All Apple HomeKit accessories | Up to 100 feet | Encryption, two-factor authentication |
| HomePod | Most Apple HomeKit accessories | Up to 50 feet | Encryption, two-factor authentication |
| iPad | All Apple HomeKit accessories | Up to 100 feet | Encryption, two-factor authentication |
Adding Smart Accessories to HomeKit
To grow your smart home, add Apple HomeKit compatible devices. This is easy, and I’ll show you how. First, check if your device works with HomeKit. You can find a list of supported devices on the Apple website.
After checking compatibility, start adding devices. Open the Home app, tap “Add Accessory,” and follow the steps. If problems arise, you might need to fix your Apple HomeKit setup.
How to Add Devices
- Open the Home app on your iOS device
- Tap on “Add Accessory” and select the device you want to add
- Follow the in-app instructions to complete the addition process
Troubleshooting Common Issues
Having trouble adding devices? Try restarting your HomeKit hub or checking your Wi-Fi. For harder problems, look at the user manual or contact the maker’s support for Apple HomeKit help.
Best Practices for Device Placement
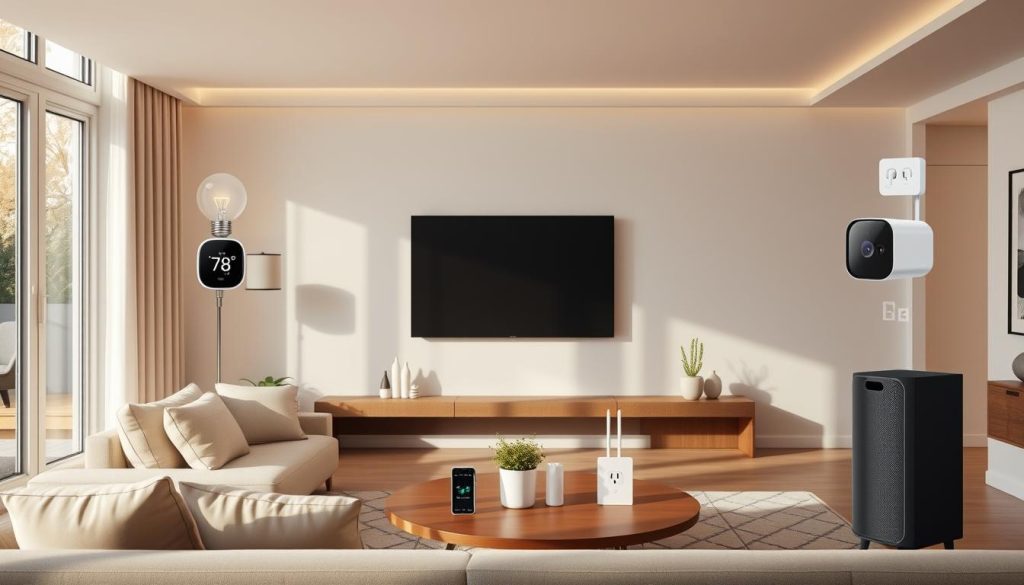
For the best performance, place your devices wisely. Think about your Wi-Fi range and HomeKit hub location. These tips will help you enjoy a smooth smart home experience with Apple HomeKit devices.
Organizing Your HomeKit Environment
To get the most out of your Apple HomeKit setup, organizing your environment is key. You need to create rooms and zones. This makes controlling and automating your smart devices easier. Apple HomeKit tutorials can help you set up and customize your space.
Setting up Apple HomeKit is simple. With the right guidance, you can make your smart home unique. Start by setting up rooms and zones. This groups your devices and makes control easier. Then, use scenes for automation to customize your lighting, temperature, and security settings.
Creating a Customized Experience
Using scenes for automation lets you customize your smart home. You can make scenes for different times or activities, like watching a movie or cooking. This way, you can control many devices with one command, making your smart home easy to manage.
Customizing Notifications and Alerts
Customizing notifications and alerts is also crucial. You can set up alerts for when a device is activated or when someone enters a room. This keeps you informed about what’s happening in your home and ensures you’re always in control.
By following these steps and using Apple HomeKit tutorials, you can create a personalized smart home. Explore different scenes and automation options to get the most out of your Apple HomeKit setup.
| Feature | Description |
|---|---|
| Rooms and Zones | Group devices by room or zone for easy control |
| Scenes for Automation | Customize lighting, temperature, and security settings |
| Customizing Notifications and Alerts | Stay informed about device activity and home events |
Integrating Siri with HomeKit
To get the most out of your HomeKit, learning how to use Apple HomeKit with Siri is key. This lets you control your smart devices with just your voice. You can turn on lights, adjust the thermostat, and even lock doors without touching them.
Setting up Siri shortcuts is easy and makes your HomeKit better. You can make custom shortcuts for many actions with one voice command. For instance, a “good morning” shortcut can turn on lights, start the coffee, and set the thermostat.
Setting Up Siri Shortcuts
- Open the Home app and tap on the “Automations” tab
- Tap on the “+” icon to create a new automation
- Choose the trigger and actions for your shortcut
- Save and test your shortcut
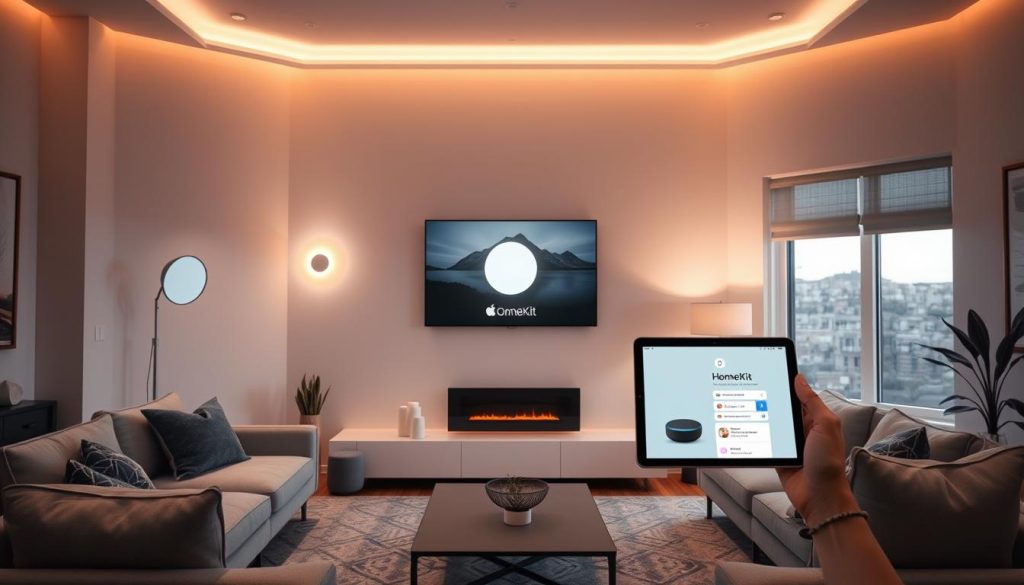
Using Voice Commands Effectively
To use voice commands well, speak clearly and use specific phrases. The Home app can teach you about voice commands and how to use them. With practice, controlling your HomeKit devices with Siri will become second nature, making your smart home life easier and more fun.
Advanced HomeKit Features
Ready to elevate your smart home experience? Explore advanced HomeKit features. Home automation with Apple HomeKit offers a seamless, integrated experience. You can set up automations to automate tasks and scenes in your home.
For instance, you can make lights turn on when you enter a room or doors lock when you leave. Use Apple HomeKit accessories like smart bulbs, thermostats, and door locks. Start with automations in the Home app on your iPhone or iPad to create custom scenes.
HomeKit Secure Video is another advanced feature. It securely records and stores video from your home security cameras. It works with many Apple HomeKit accessories, including security cameras from top brands. To set it up, ensure your cameras are HomeKit compatible and follow the Home app instructions.
Benefits of HomeKit Secure Video include:
- Secure video recording and storage
- Works with many Apple HomeKit accessories
- Easy setup and management in the Home app
Lastly, HomeKit works with Apple Watch. This lets you control your smart home devices from your wrist. It’s handy for turning on lights, adjusting the thermostat, or locking doors without your iPhone or iPad.
| Feature | Description |
|---|---|
| Automations | Automate tasks and scenes in your home |
| HomeKit Secure Video | Securely record and store video footage from security cameras |
| Apple Watch Integration | Control smart home devices from your Apple Watch |
Maintaining Your Apple HomeKit System
To keep your Apple HomeKit system running smoothly, regular updates and maintenance are key. Make sure all devices are up-to-date with the latest software. Apple offers many resources to help fix common problems.
Here are some tips for maintaining your Apple HomeKit system:
- Regularly check for software updates for your Apple HomeKit compatible devices
- Use strong passwords and enable two-factor authentication for added security
- Back up your HomeKit data to prevent loss in case of a system failure
By following these tips, you can keep your Apple HomeKit system secure and working well. Also, troubleshoot any issues with your devices to avoid problems in your smart home.
For more information on maintaining your Apple HomeKit system, including troubleshooting tips and security best practices, visit the Apple Support website. Stay on top of maintenance and updates for a seamless and secure smart home experience with your Apple HomeKit system.
| Task | Frequency |
|---|---|
| Check for software updates | Weekly |
| Back up HomeKit data | Monthly |
| Review system security | Quarterly |
Conclusion: Enjoying Your Smart Home
Now that you’ve set up your Apple HomeKit system, it’s time to relax and enjoy it. Think back on the setup journey. You’ve gained valuable skills, overcame challenges, and made a smart home that fits your life perfectly.
Future Considerations for Expanding HomeKit
The world of home automation keeps growing, with new devices and features coming out. Think about adding more security cameras, climate controls, or entertainment systems to your home. Keep an eye on the latest HomeKit innovations to make your life even better.
Staying Updated with HomeKit Innovations
To get the most from your Apple HomeKit system, stay in the loop with updates. Follow Apple’s HomeKit website and tech blogs for news on new devices, software updates, and smart home trends. This way, you can keep your HomeKit setup up-to-date and enjoy the latest smart home features.

